目录

从零开始的云计算生活第六十天,志在千里,使用Jenkins部署K8S

从零开始的云计算生活——第六十天,志在千里,使用Jenkins部署K8S

一.安装kubectl

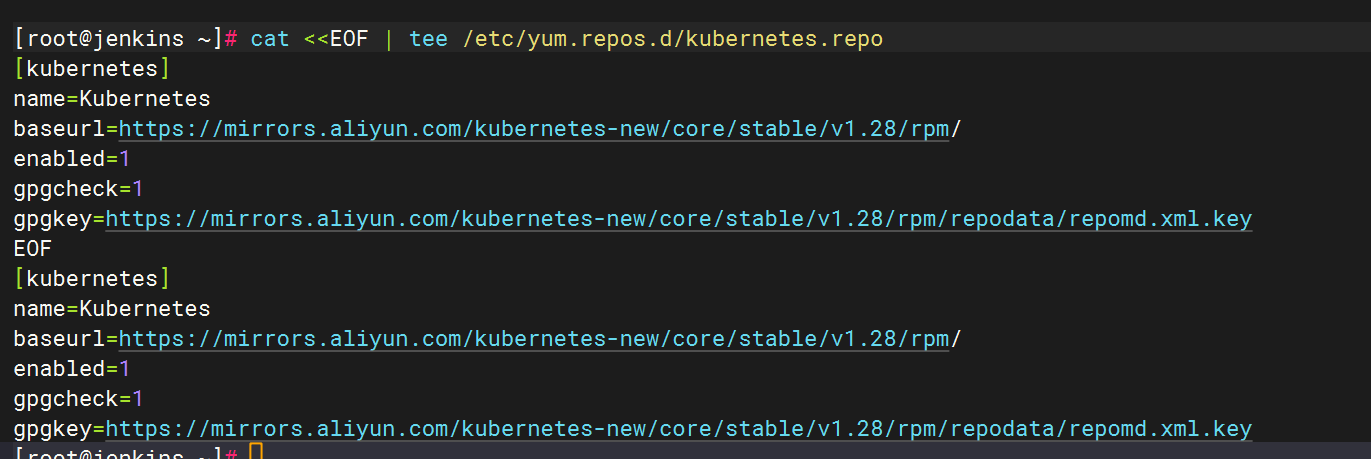
1、配置yum源


cat <<EOF | tee /etc/yum.repos.d/kubernetes.repo
[kubernetes]
name=Kubernetes
baseurl=https://mirrors.aliyun.com/kubernetes-new/core/stable/v1.28/rpm/
enabled=1
gpgcheck=1
gpgkey=https://mirrors.aliyun.com/kubernetes-new/core/stable/v1.28/rpm/repodata/repomd.xml.key
EOF
https://i-blog.csdnimg.cn/direct/8074aabc20e744479ac6fdcb6a240a8a.png

2、安装kubectl

yum install -y kubectl

https://i-blog.csdnimg.cn/direct/0bf7c85d34c946238238f8ddfb2ab56d.png

二.关联k8s

1.设置配置文件

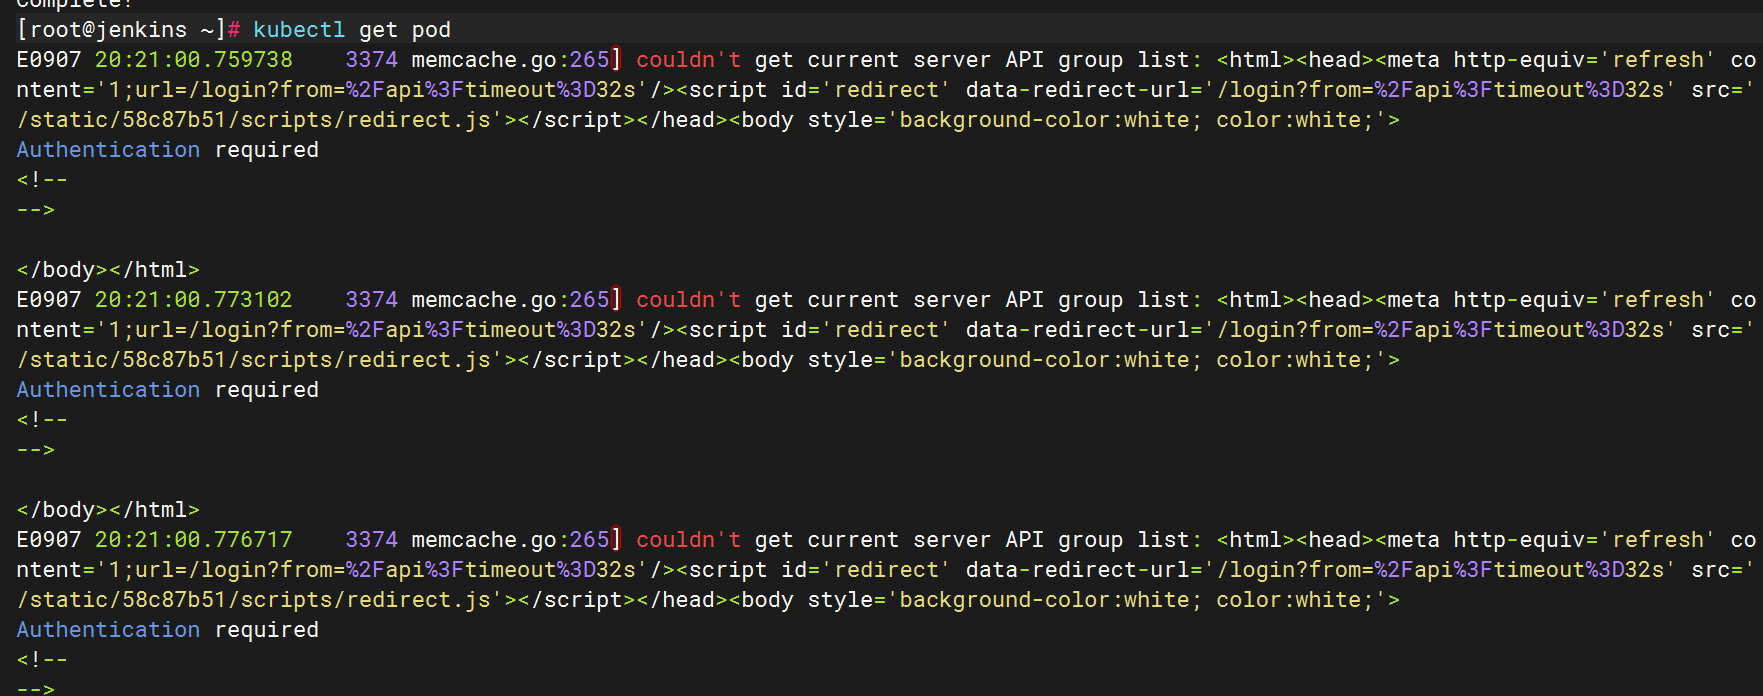
此时由于没有关联,使用命令会报错

https://i-blog.csdnimg.cn/direct/15070f31decf4066b10cbbfe44d50aee.png

去k8s主机将.kube内容拷贝过来

https://i-blog.csdnimg.cn/direct/361fa20ef2084643ac2bf0d6baf87686.png

回来发现命令已经可以使用了

https://i-blog.csdnimg.cn/direct/65d0aabb2db24ae3b2036db758129f26.png

https://i-blog.csdnimg.cn/direct/a68468bb13bb430995189d7625a40282.png

https://i-blog.csdnimg.cn/direct/8987b24e237349fb8a20dc320e902920.png

再将.kube文件考到Jenkins账户里

https://i-blog.csdnimg.cn/direct/a11fdf75c173414c9722200d8e38aa7a.png

使用Jenkins账户登录并使用

https://i-blog.csdnimg.cn/direct/57c375e448a0402797c73bfba42d326c.png

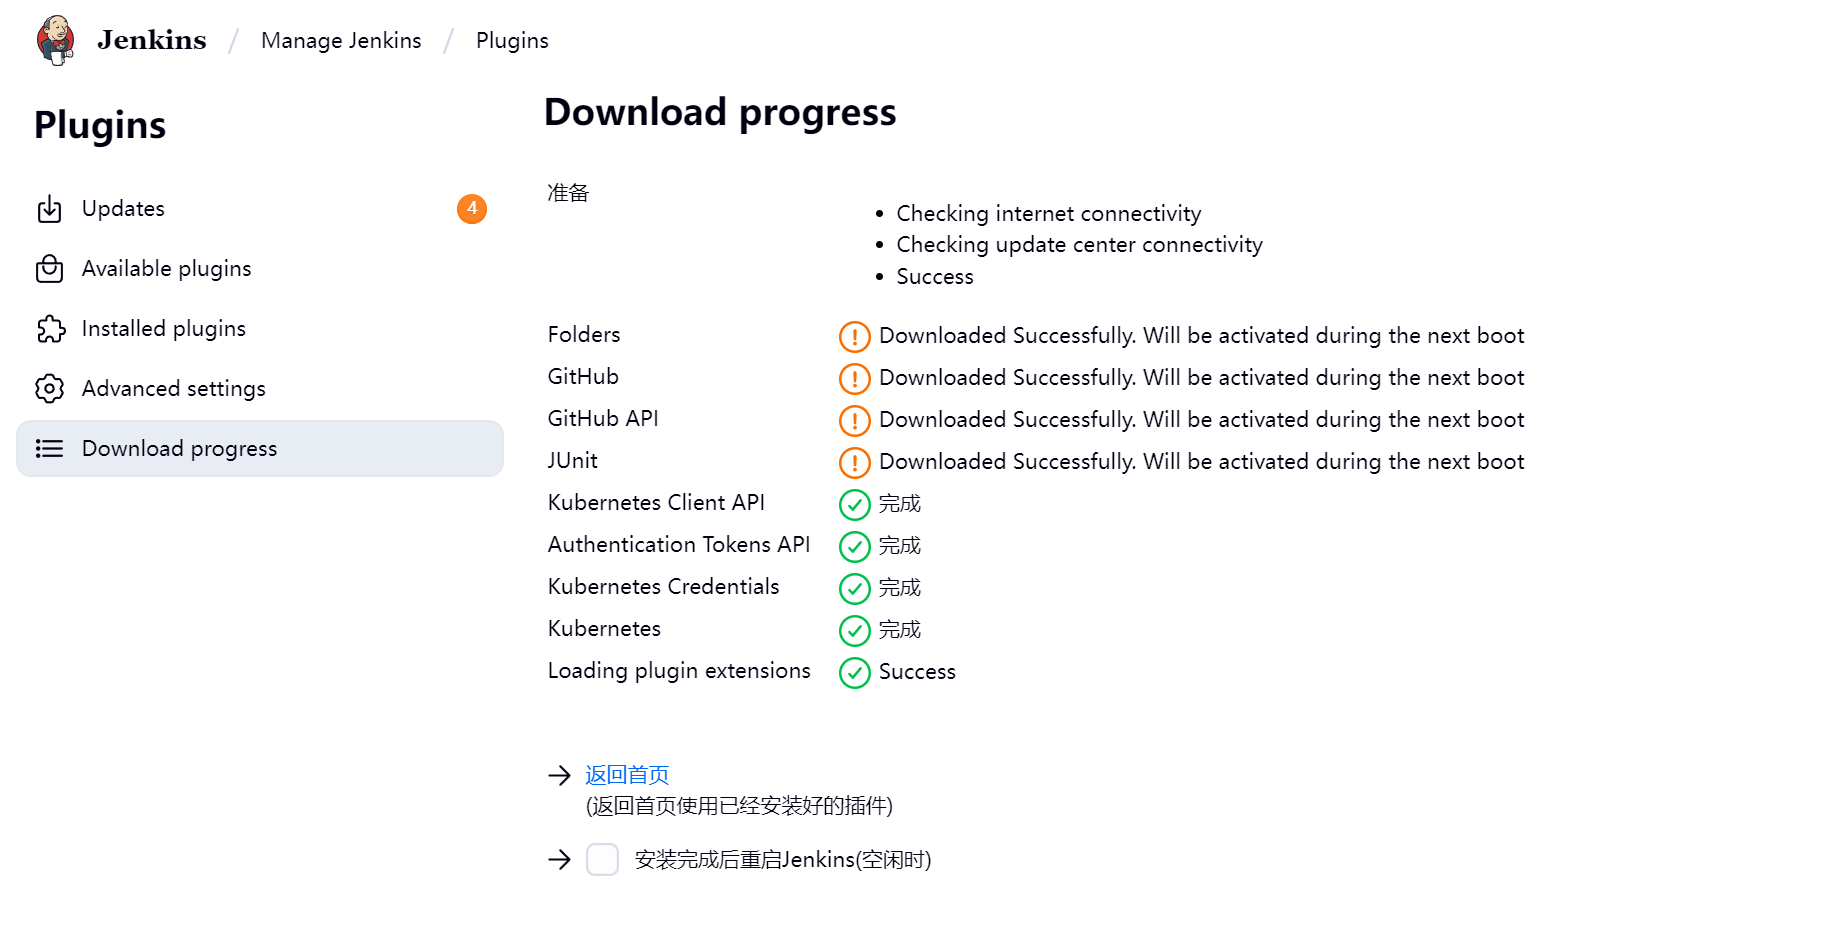
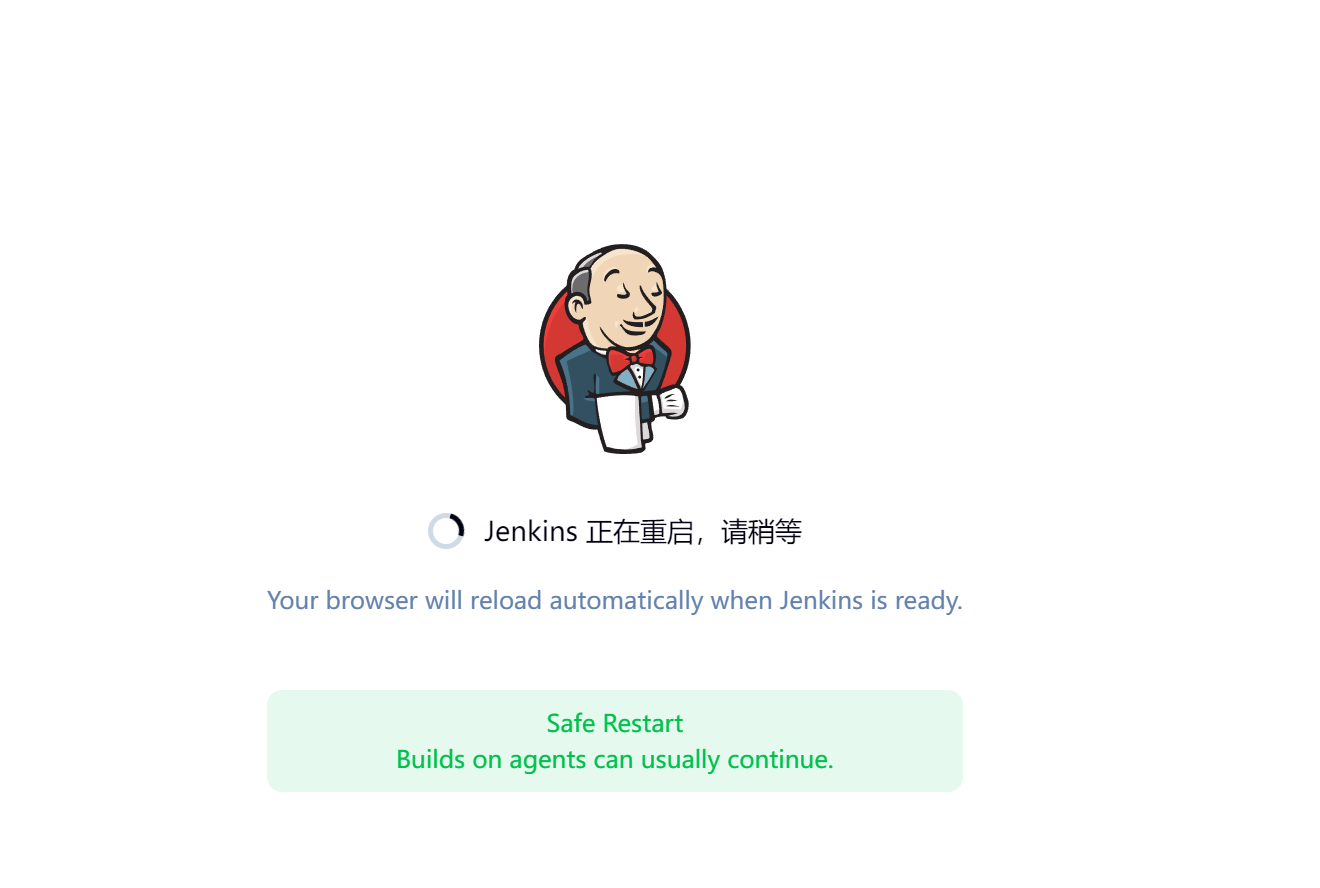
2.下载k8s插件并重启

https://i-blog.csdnimg.cn/direct/0355ba31f19a4f8babbc2b270bd3f662.png

https://i-blog.csdnimg.cn/direct/fca54069400f4c6f939960f8bce676e6.png

https://i-blog.csdnimg.cn/direct/45bb51d40a2a4aaa9908ca7e7f36af8e.png

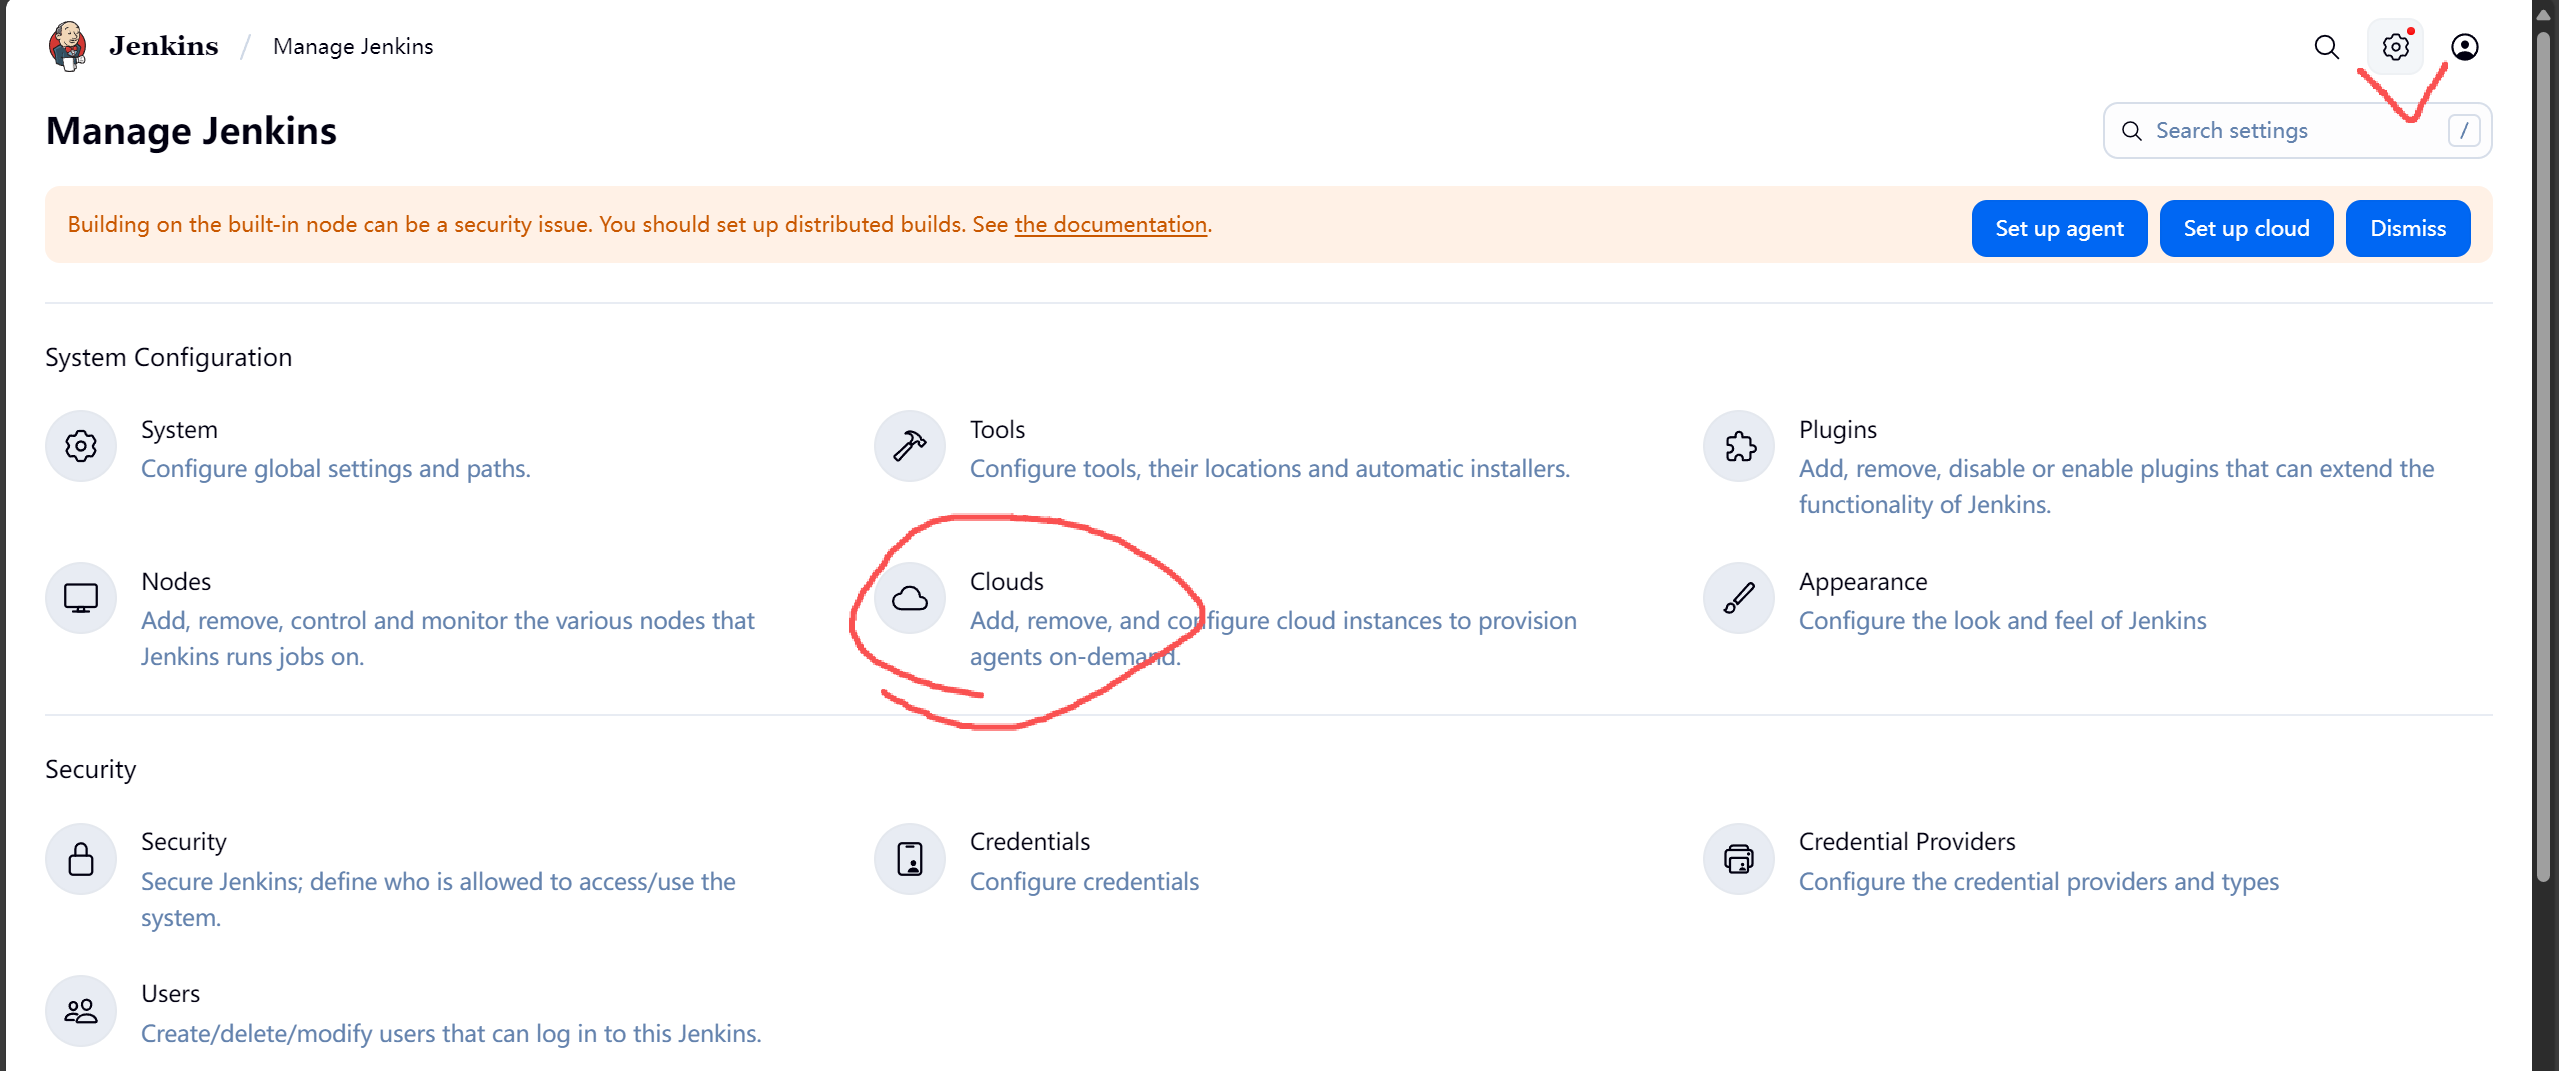
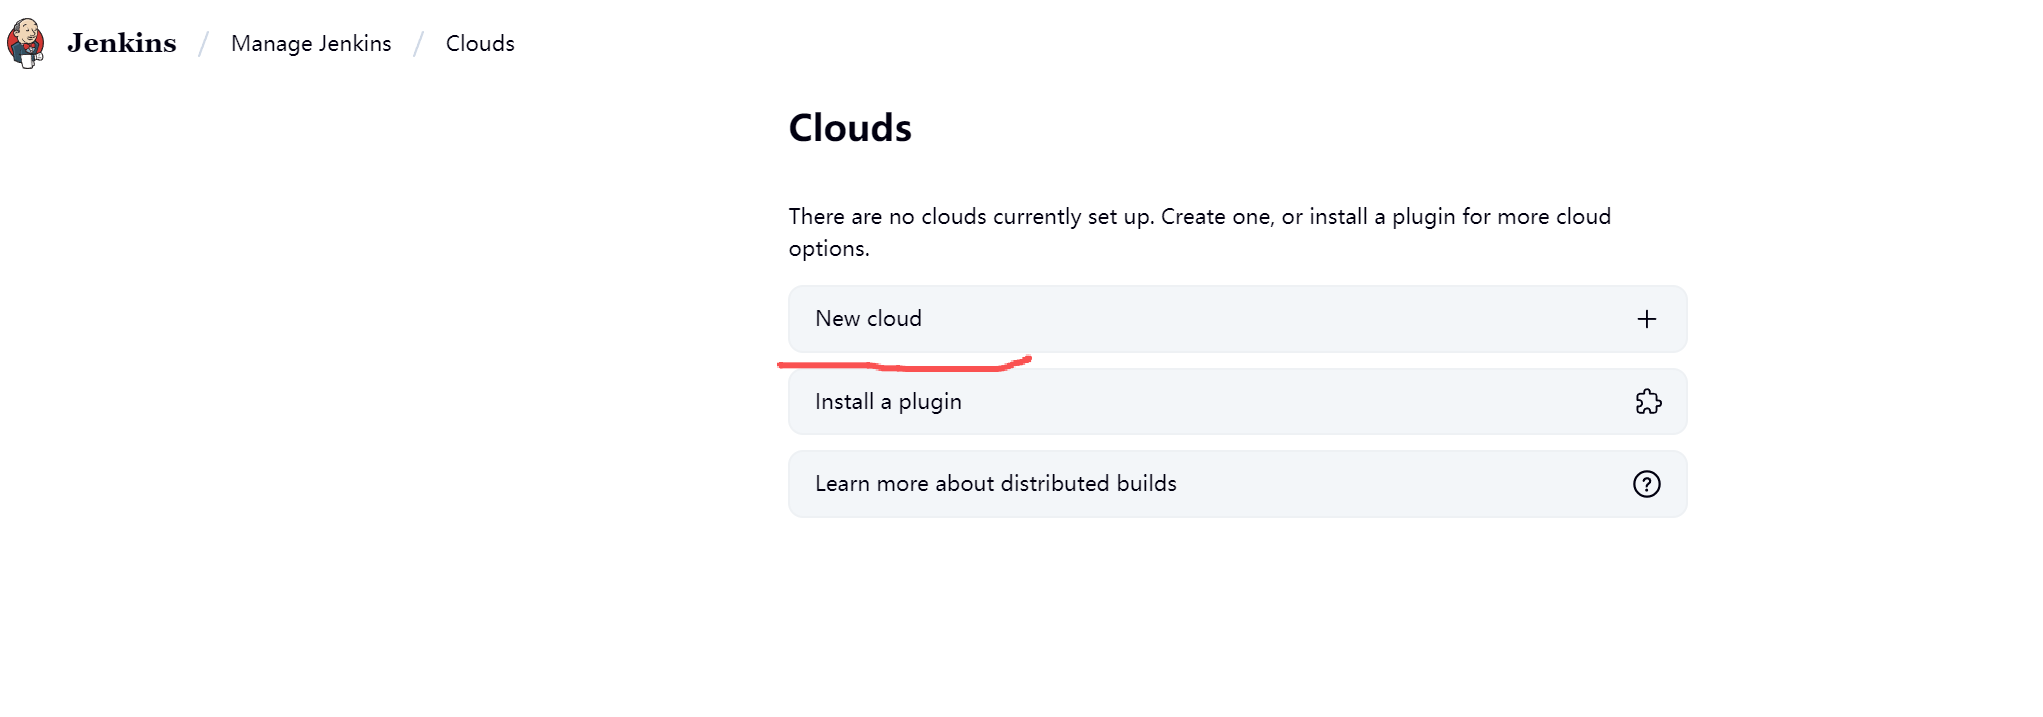
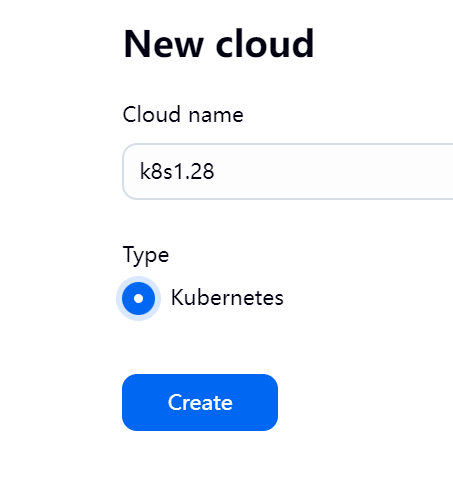
3.选择cloud

https://i-blog.csdnimg.cn/direct/84adbf59324e4b718aa584f92f2e1e73.png

https://i-blog.csdnimg.cn/direct/57516651c0d14c16ad2f5c5226027c0c.png

https://i-blog.csdnimg.cn/direct/936f460b6e5344b4a529552f29e0ae70.png

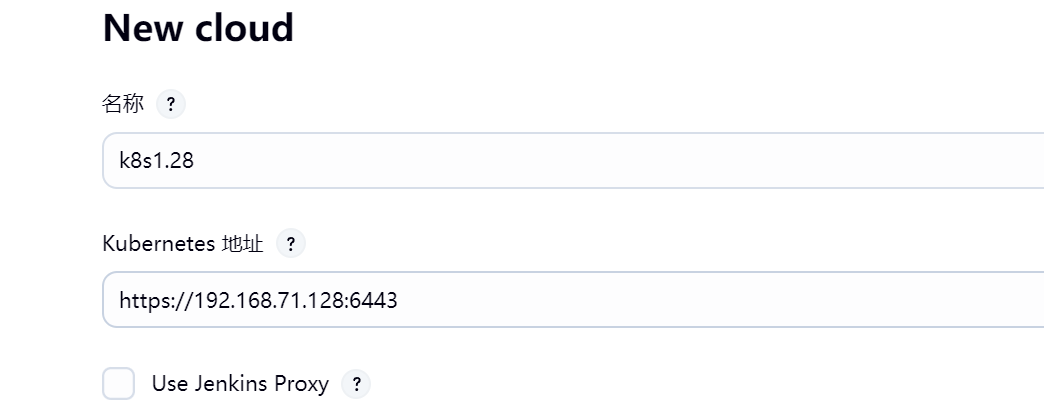
4.查看k8s地址

https://i-blog.csdnimg.cn/direct/b7e87edd4e77441f9f075c7d2aa43630.png

https://i-blog.csdnimg.cn/direct/fac72f42b4fe4ab4bf5a8475bd48ff9e.png

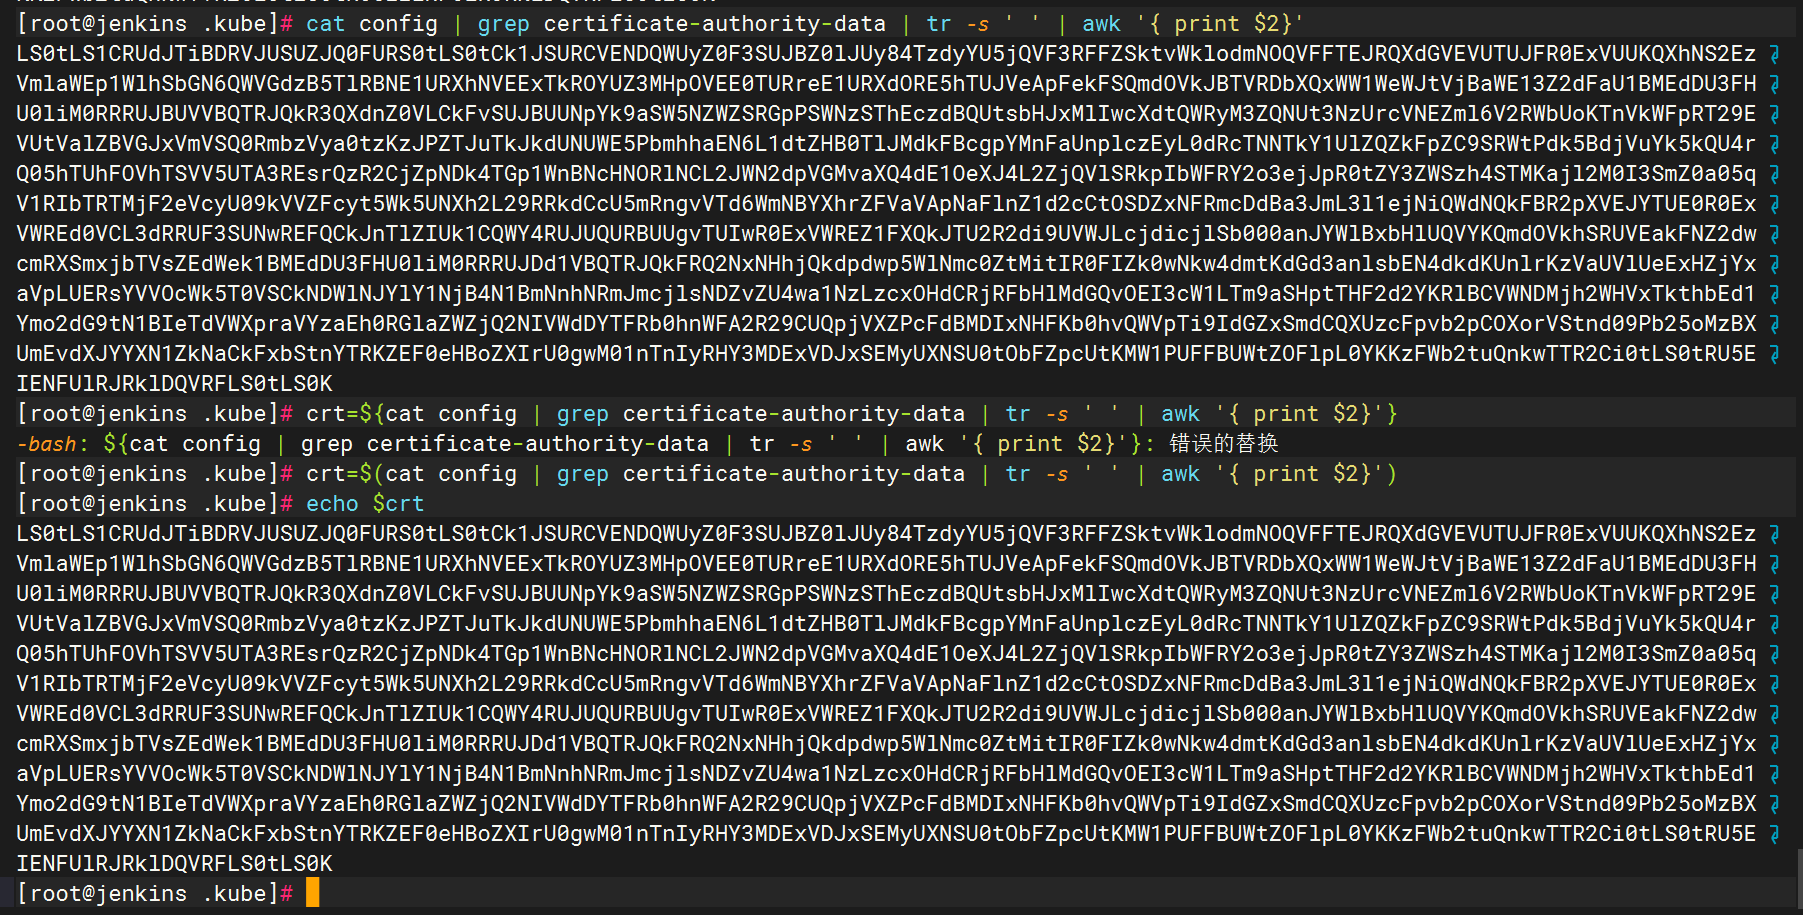
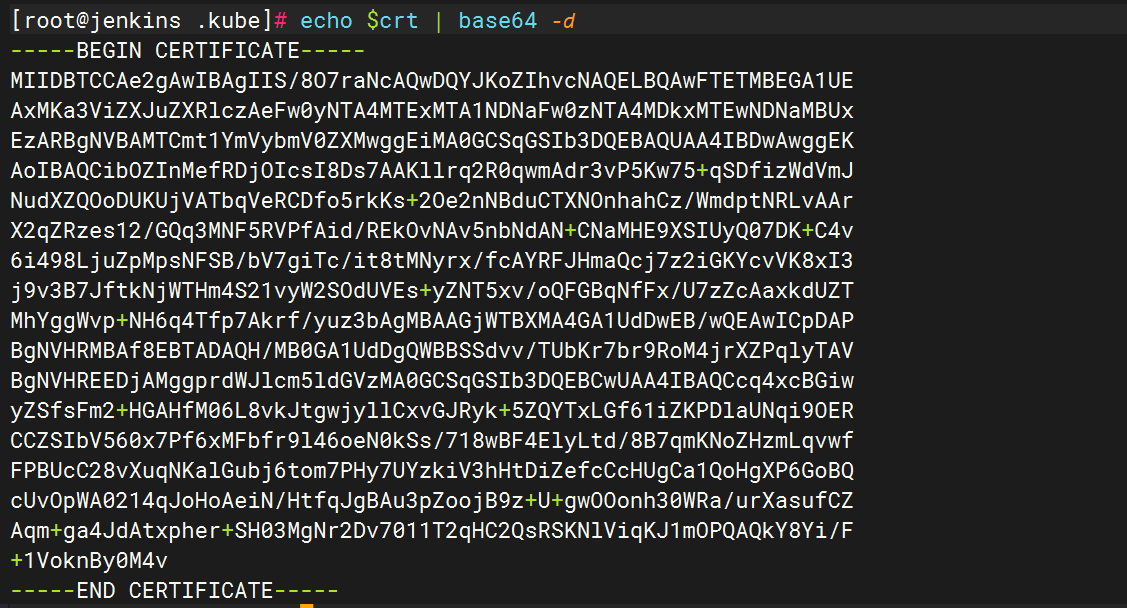
5.查看证书文件,并解密

https://i-blog.csdnimg.cn/direct/16e98e7f07484139bed7e82b42011a35.png

https://i-blog.csdnimg.cn/direct/670981bf04ae485696859181a4c0fb9b.png

6.复制证书

https://i-blog.csdnimg.cn/direct/4d8e1a3cb07343f9bbbffdd9e1c2d431.png

7.填写命名空间

https://i-blog.csdnimg.cn/direct/e294cb7ebee0417aaf77ac965e5583fa.png

8.终端生成Secret

创建jenkins账户

kubectl create sa jenkins

创建role角色


kind: Role
apiVersion: rbac.authorization.k8s.io/v1
metadata:
  namespace: default
  name: pod-reader-role
rules:
- apiGroups: [""]
  resources: ["pods"]
  verbs: ["get", "list", "watch","create","update","delete"]


[root@k8s-master ~]# kubectl apply -f  role.txt
##若要给于jenkins用户对default命名空间下所有资源具有所有权限,可以修改为 ["*"]

添加bindroling绑定


kind: RoleBinding
apiVersion: rbac.authorization.k8s.io/v1
metadata:
  namespace: default
  name: pod-reader-role-binding
subjects:
- kind: ServiceAccount
  name: jenkins
  namespace: default
roleRef:
  kind: Role
  name: pod-reader-role
  apiGroup: rbac.authorization.k8s.io

生成token

kubectl -n default create token jenkins

https://i-blog.csdnimg.cn/direct/79249a777f6f4c139ec4fbaf1e80507e.png

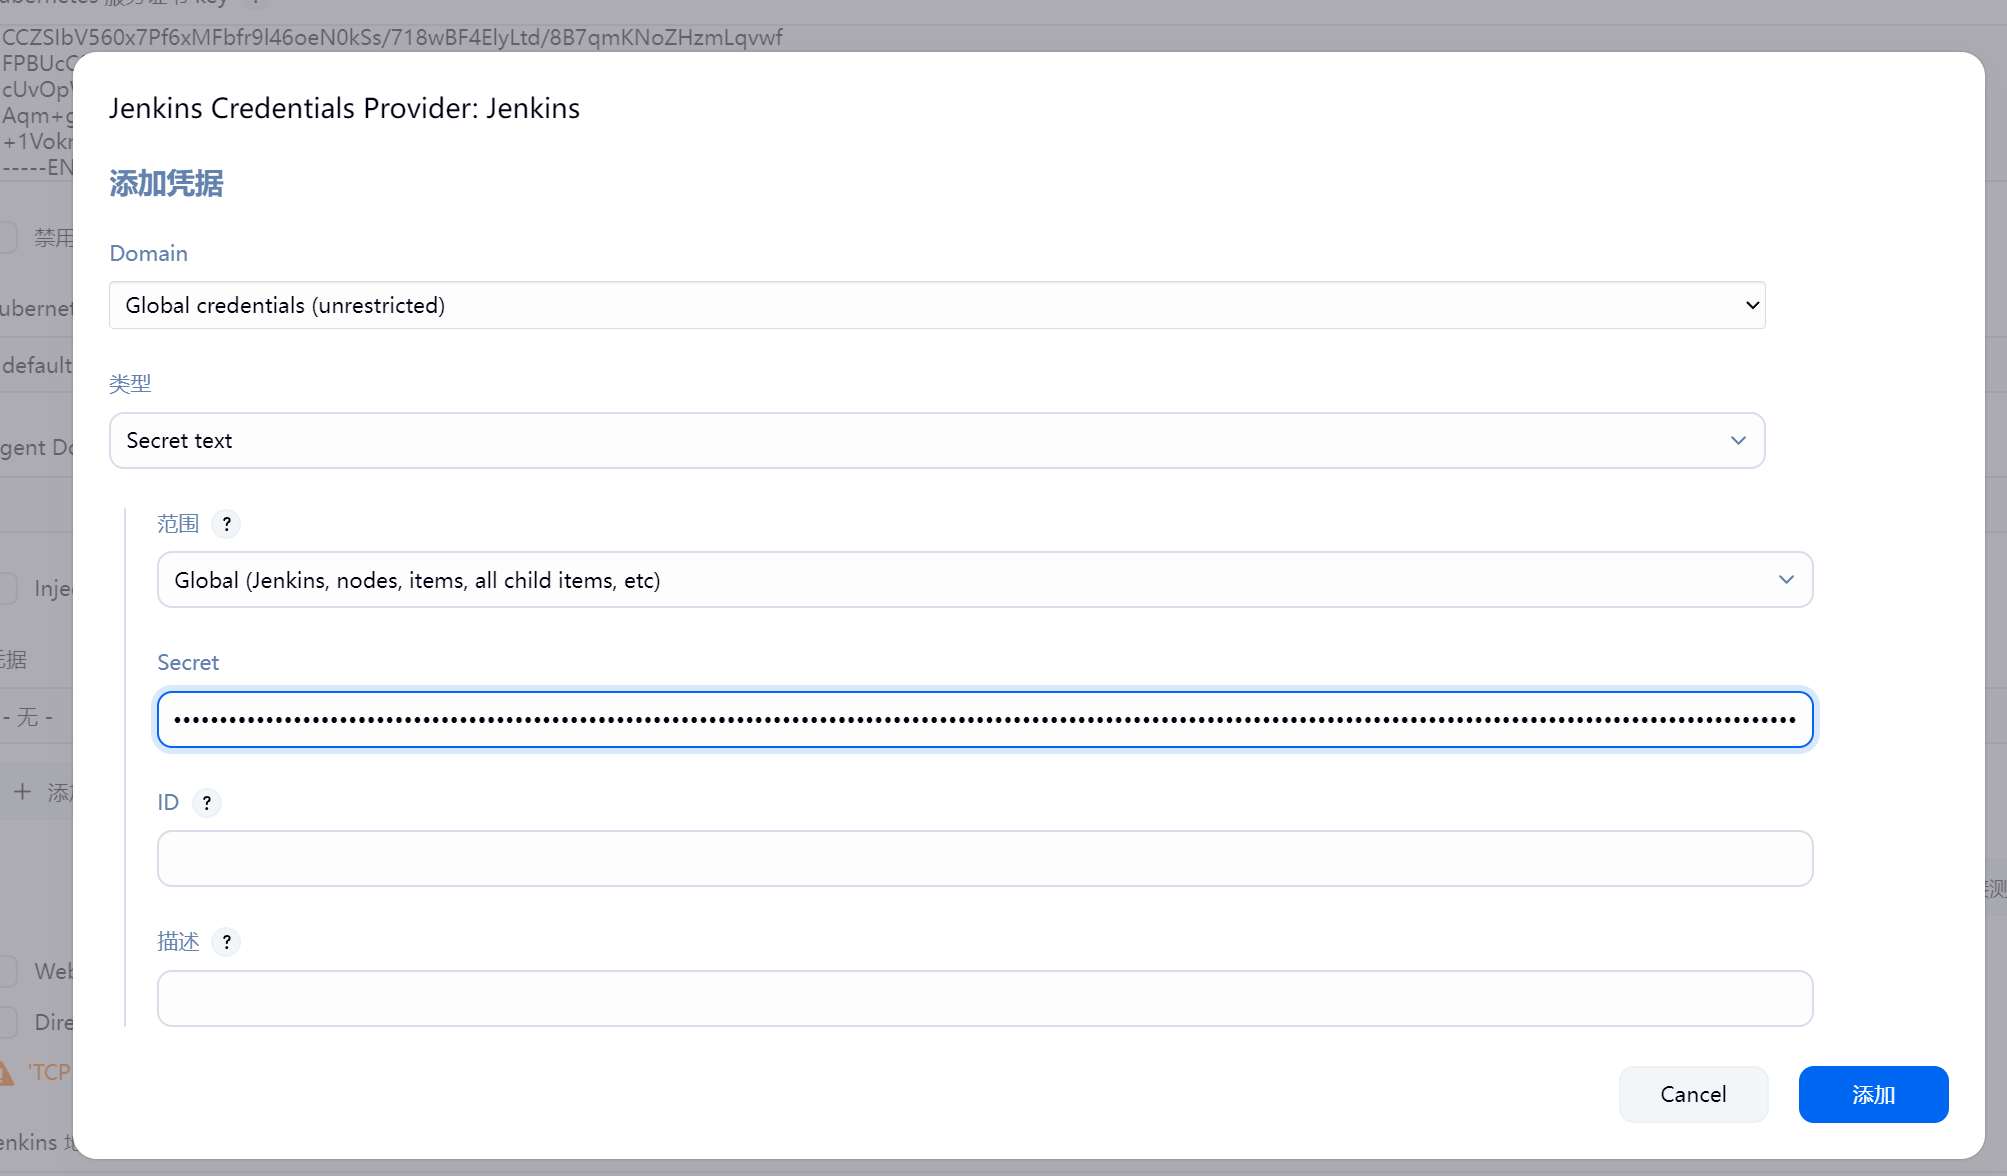
最后将token填写道“凭据”中

9.填写凭证(1个小时有效)

https://i-blog.csdnimg.cn/direct/a2e431fdb0ca4424b9af2e876941acec.png

https://i-blog.csdnimg.cn/direct/f9712f2b83a94a24ae1e6905d0f040cb.png

下面把Jenkins地址填上,再点击保存按钮就完成了

https://i-blog.csdnimg.cn/direct/616cc3235e4a47eeadb2a163353c3acb.png

https://i-blog.csdnimg.cn/direct/927f8dd2ff9b4151b2f8b385593e59a2.png

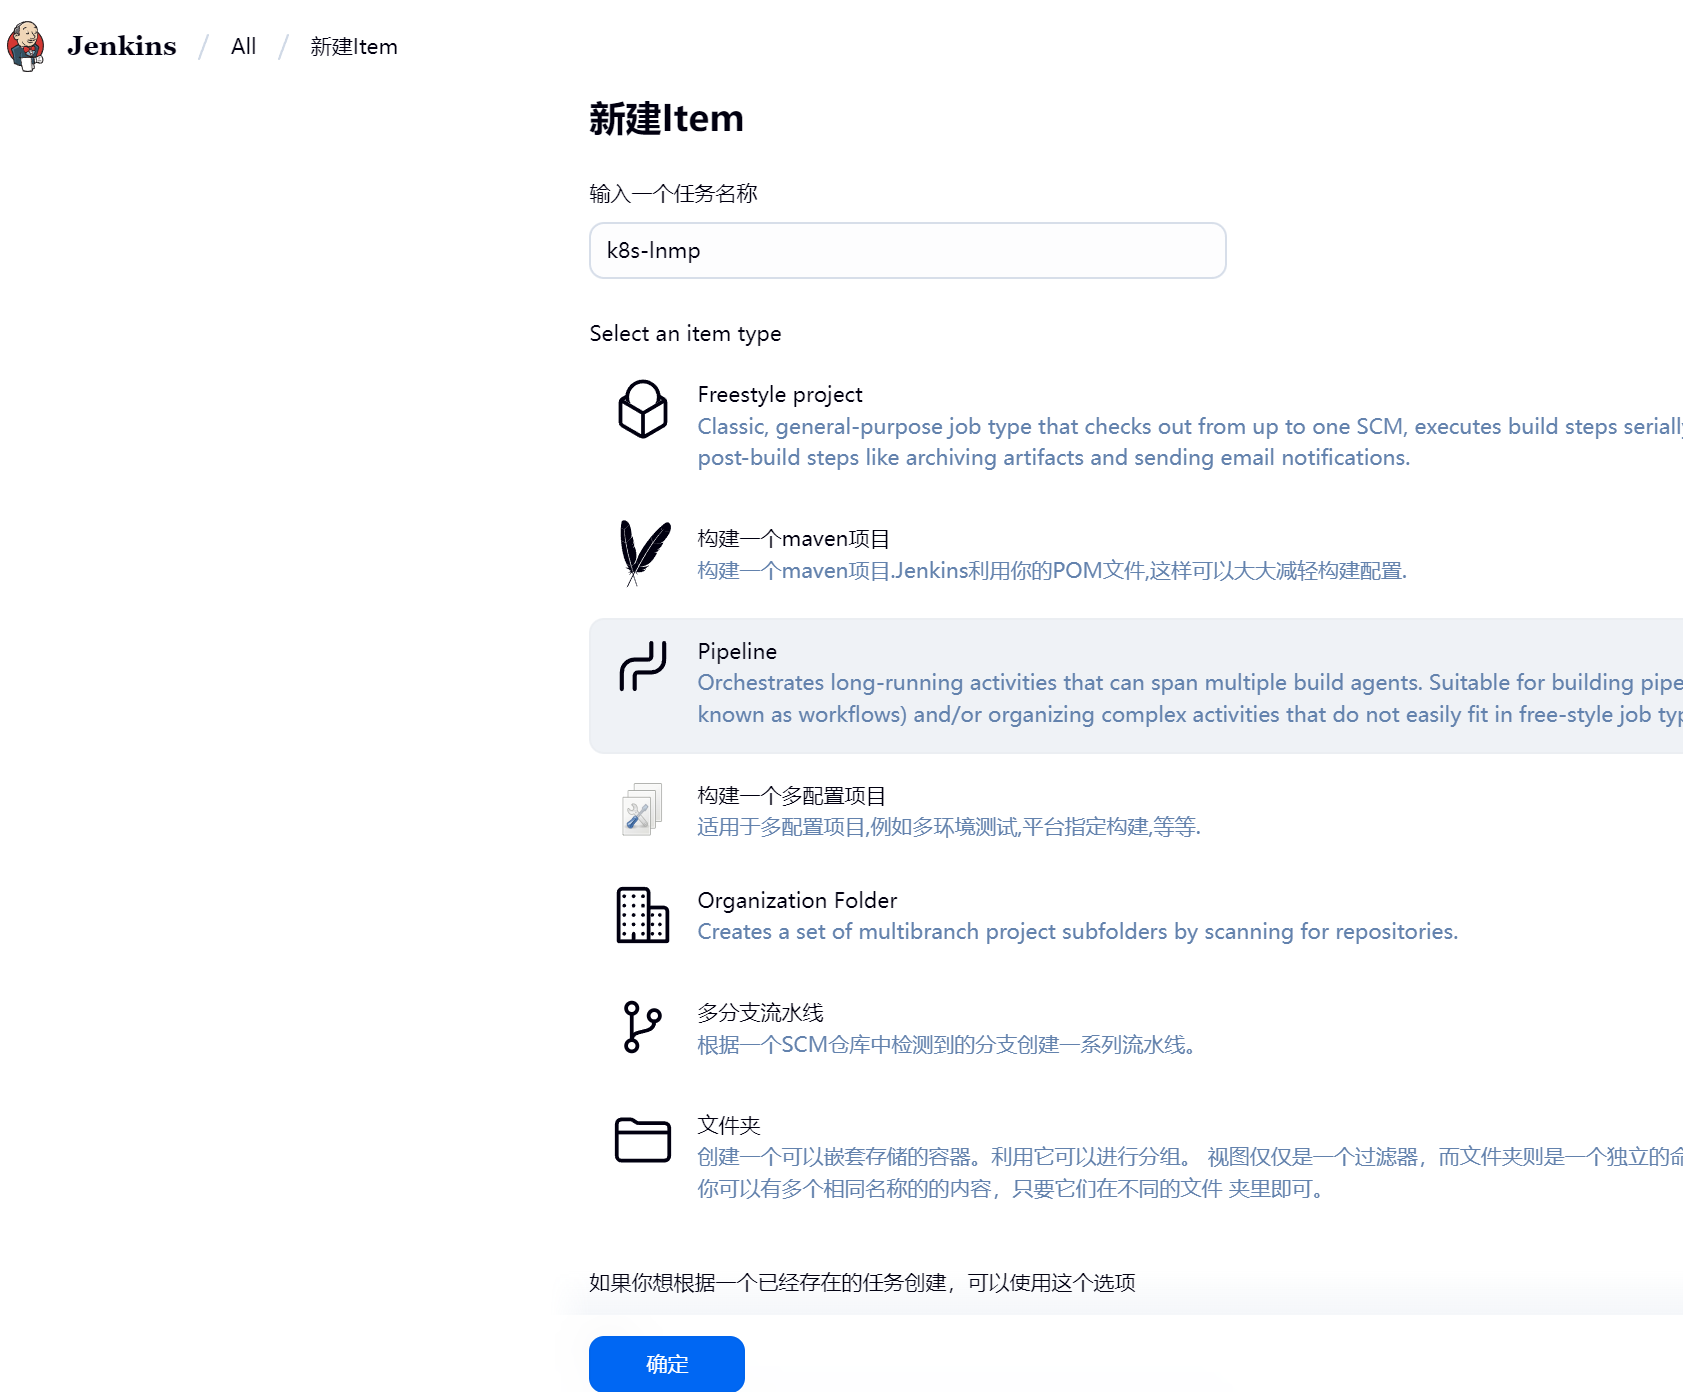
三.创建项目

https://i-blog.csdnimg.cn/direct/5399f3e3dbe84f7c8cd2b6da0a169710.png

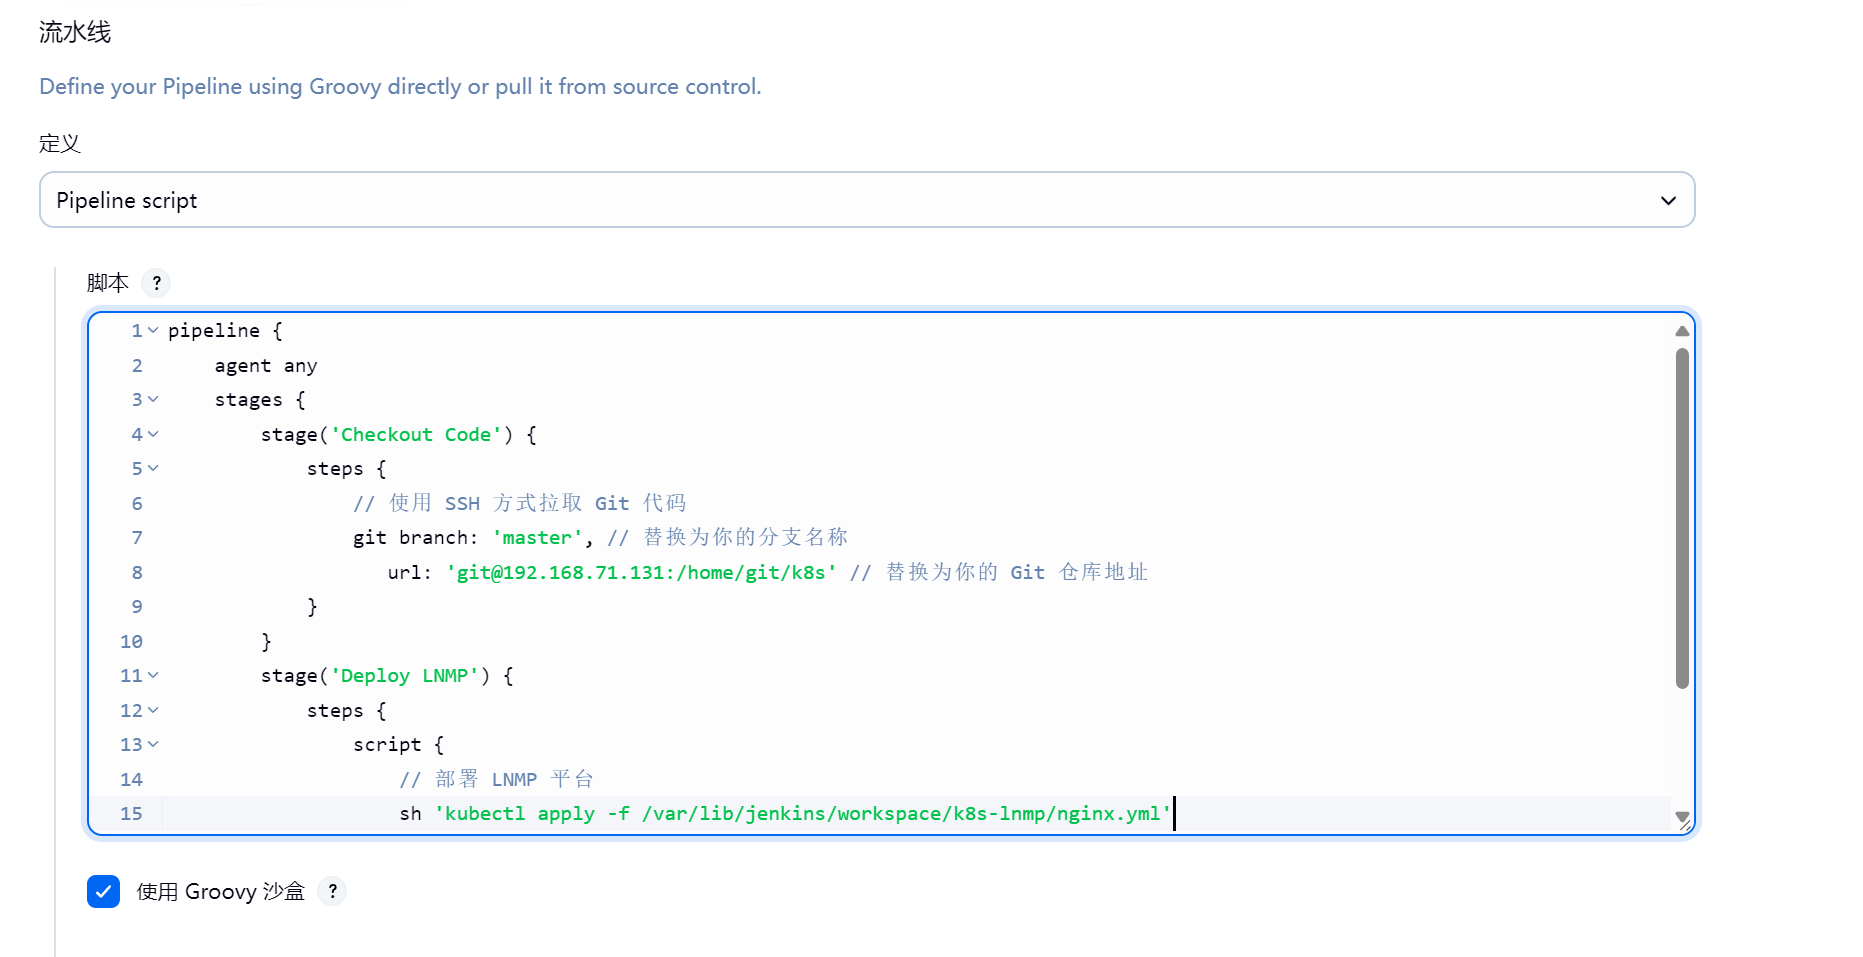
选择pipeline

https://i-blog.csdnimg.cn/direct/9b5840b7d0cc4881a32db043284847b1.png


pipeline {
    agent any
    stages {
        stage('Checkout Code') {
            steps {
                // 使用 SSH 方式拉取 Git 代码
                git branch: 'master', // 替换为你的分支名称
                   url: 'git@192.168.71.131:/home/git/k8s' // 替换为你的 Git 仓库地址
            }
        }
        stage('Deploy LNMP') {
            steps {
                script {
                    // 部署 LNMP 平台
                    sh 'kubectl apply -f /var/lib/jenkins/workspace/k8s-lnmp/nginx.yml'
                }
            }
        }
    }
}

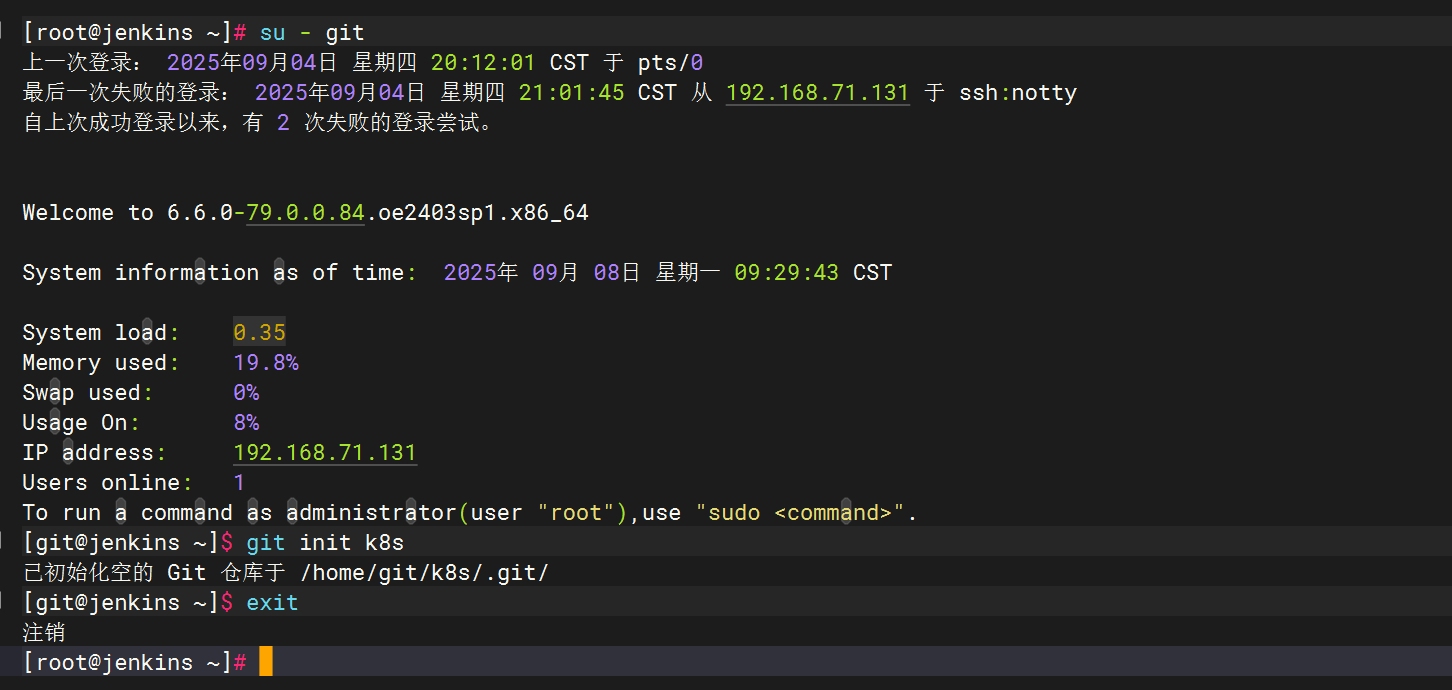
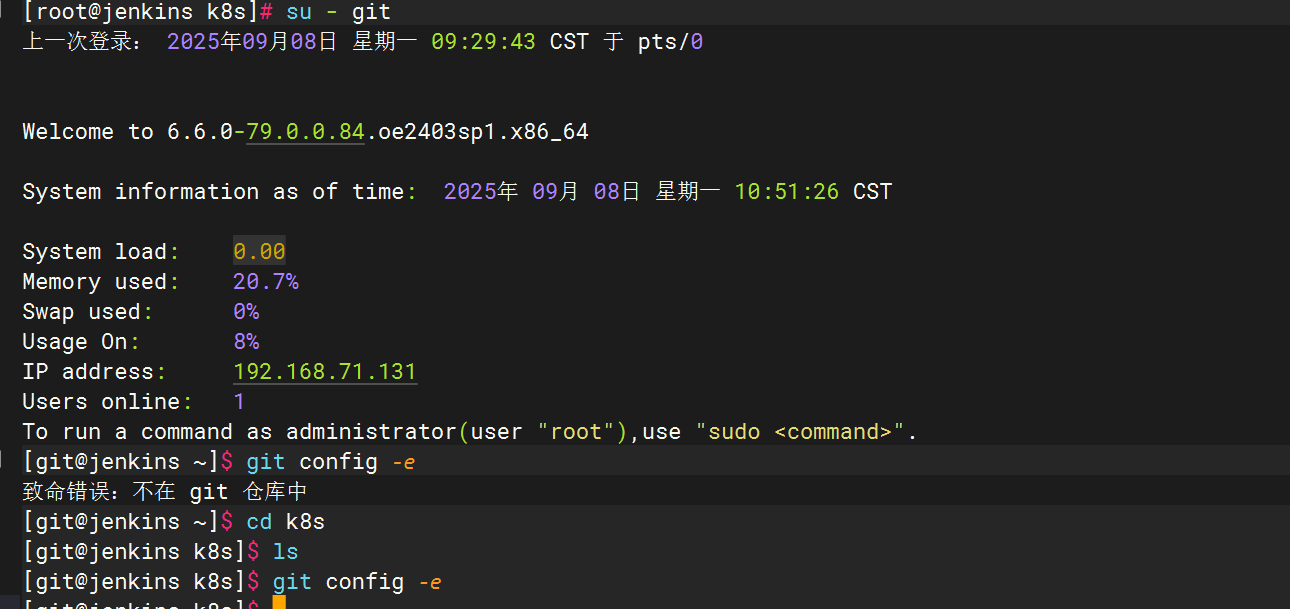
建立git库

https://i-blog.csdnimg.cn/direct/b3e56c1368504c99a3812fdf284edd4d.png

https://i-blog.csdnimg.cn/direct/de95cc1d80784839bdf5000c4bc963bf.png

创建yml文件


---

apiVersion: apps/v1
kind: Deployment
metadata:
  name: nginx

spec:
  replicas: 1
  selector:
    matchLabels:
      app: nginx
  template:
    metadata:
      labels:
        app: nginx
    spec:
      containers:
      - name: nginx
        image: nginx:latest
        ports:
        - containerPort: 80

---

apiVersion: v1
kind: Service
metadata:
  name: nginx

spec:
  selector:
    app: nginx
  ports:
  - protocol: TCP
    port: 80
    targetPort: 80
  type: NodePort

---

apiVersion: apps/v1
kind: Deployment
metadata:
  name: mysql

spec:
  replicas: 1
  selector:
    matchLabels:
      app: mysql
  template:
    metadata:
      labels:
        app: mysql
    spec:
      containers:
      - name: mysql
        image: mysql:5.7
        env:
        - name: MYSQL_ROOT_PASSWORD
          value: "123.com"
        ports:
        - containerPort: 3306

---

apiVersion: v1
kind: Service
metadata:
  name: mysql

spec:
  selector:
    app: mysql
  ports:
  - protocol: TCP
    port: 3306
    targetPort: 3306
  type: ClusterIP

---

apiVersion: apps/v1
kind: Deployment
metadata:
  name: php

spec:
  replicas: 1
  selector:
    matchLabels:
      app: php
  template:
    metadata:
      labels:
        app: php
    spec:
      containers:
      - name: php
        image: php:7.4-fpm
        ports:
        - containerPort: 9000

更新仓库

git add .

https://i-blog.csdnimg.cn/direct/e5dc30b6f9034647bdcfd3121d7a6ad9.png

设置忽略信息

https://i-blog.csdnimg.cn/direct/75e04c4445174782a67d086fe8fc4e45.png

https://i-blog.csdnimg.cn/direct/5a9a517774d94bf9820483246a2de1ca.png

https://i-blog.csdnimg.cn/direct/cb68071724d541a7977d7d4c5cd3ea38.png

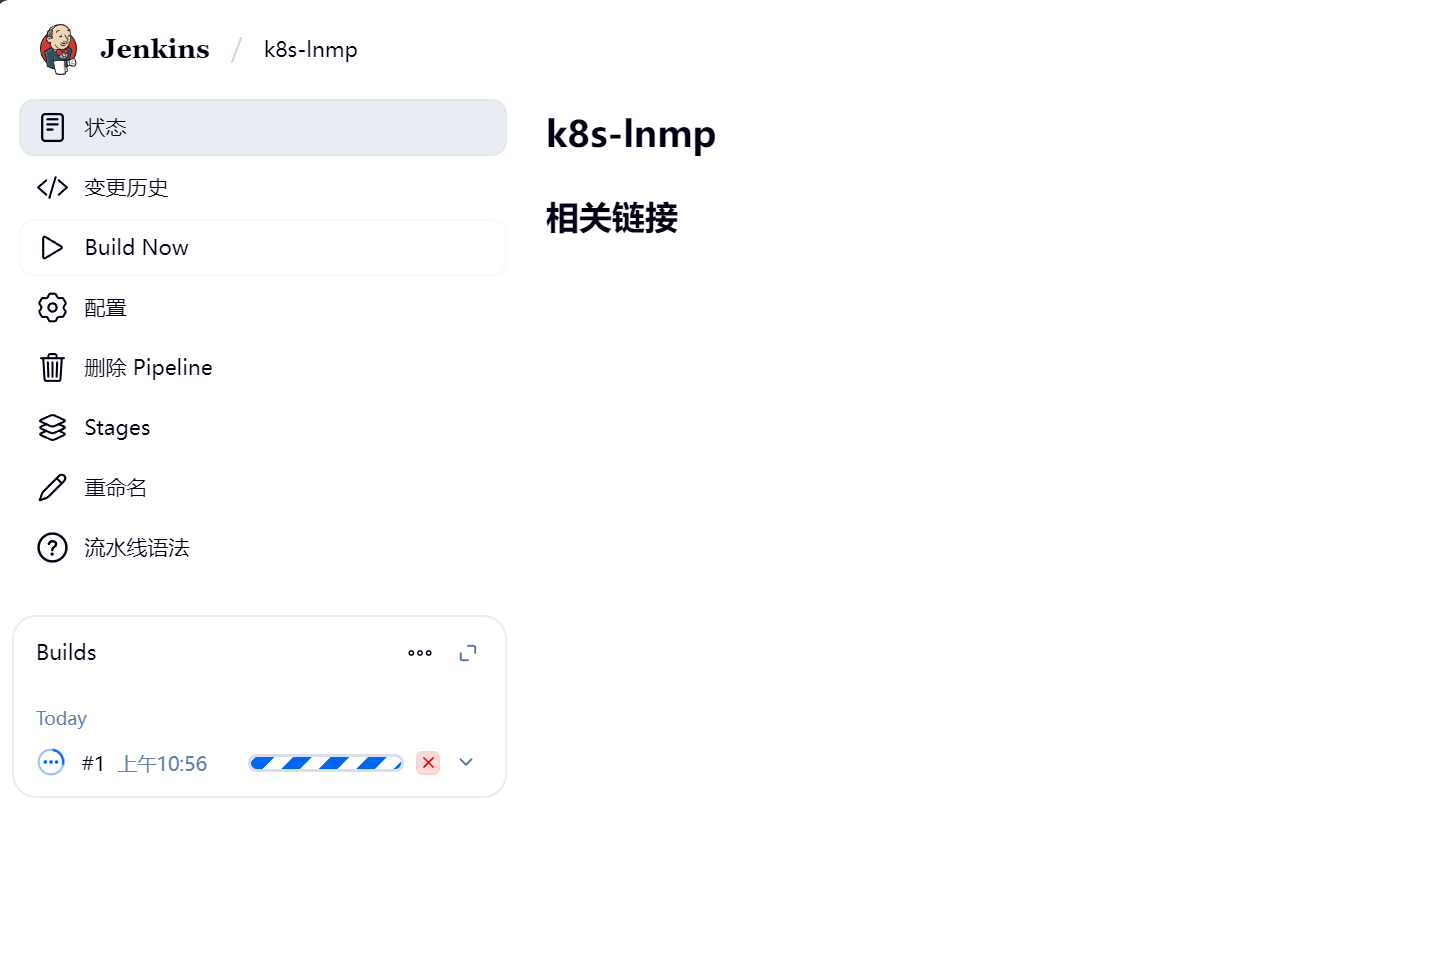
开始构建

https://i-blog.csdnimg.cn/direct/29fa1b4b0762437687ba70fbc3a8d9c2.png

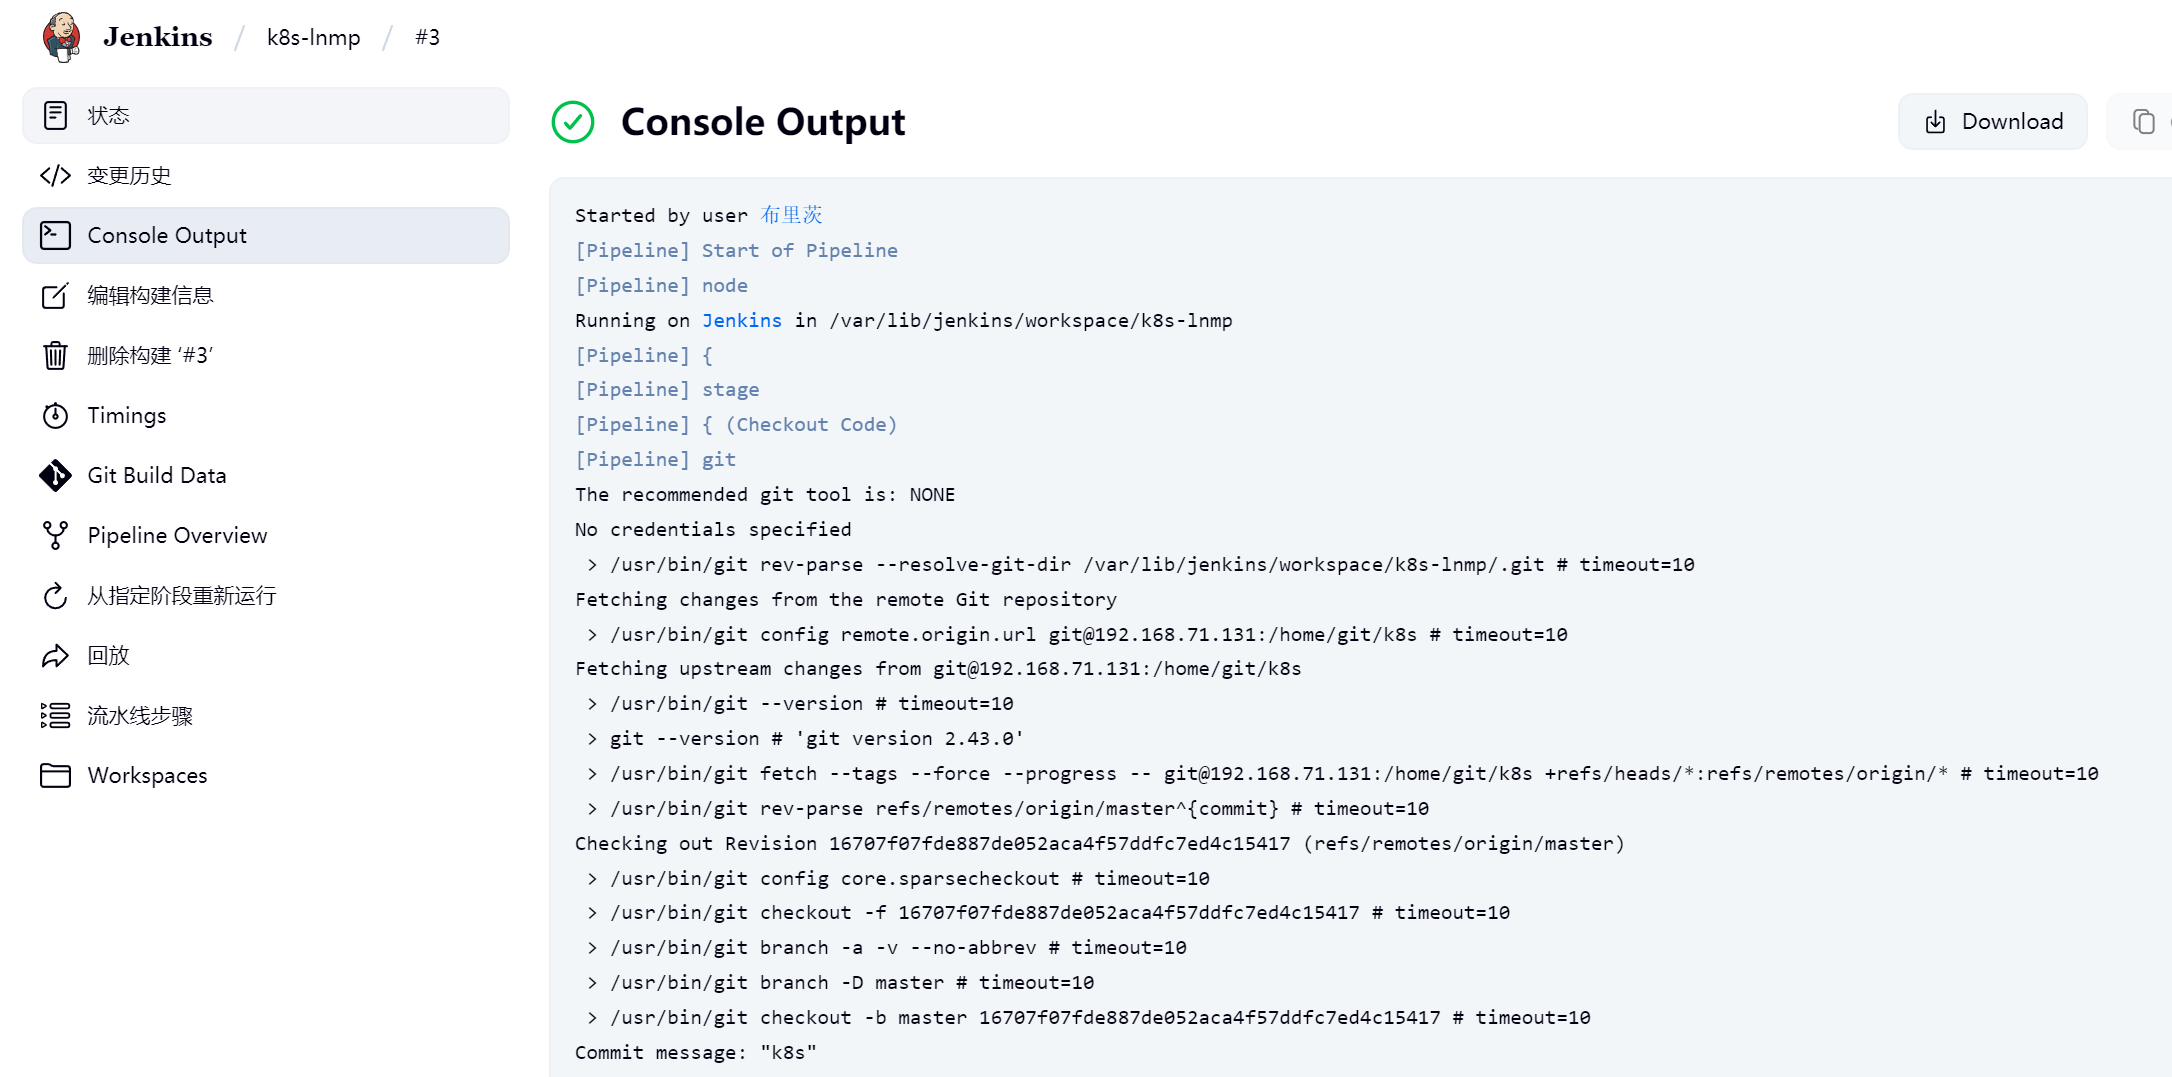
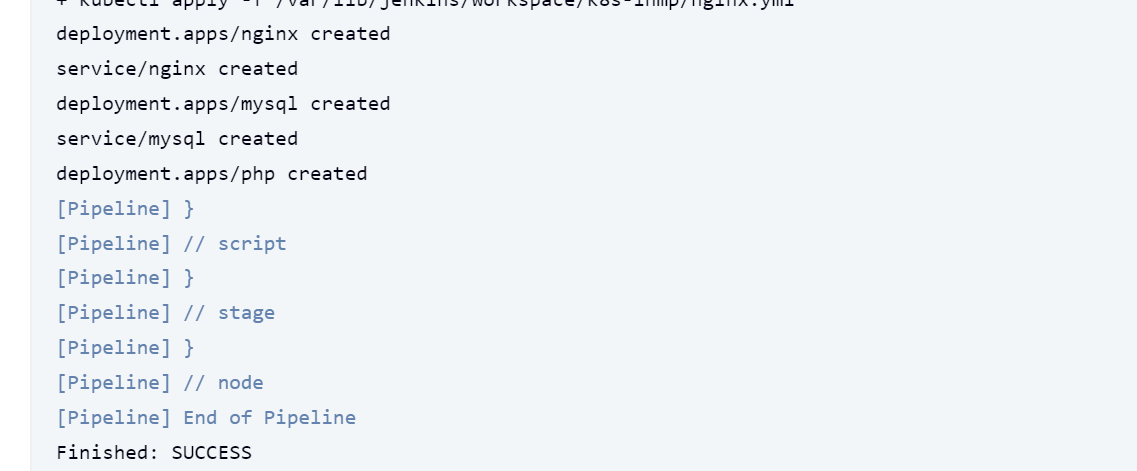
构建成功

https://i-blog.csdnimg.cn/direct/0f6d515aa38440fbbc781874c500dbd6.png

https://i-blog.csdnimg.cn/direct/45cb1176afd445ebba3e97c19f77274d.png

https://i-blog.csdnimg.cn/direct/bccb50537fbe4cebb2ab7c59a66bab21.png